The Celer network bridge, cBridge, allows users to transfer supported tokens across different layer-1 networks. For example, Ethereum, Binance Smart Chain, Heco, among others. Also, different layer-2 scaling solutions such as Optimistic Rollup, Arbitrum, and PoS side chains such as Polygon.
cBridge offers fast and low-cost transactions. The bridge currently supports the liquidity transfer to the same address between different chains. The platform has planned to introduce the cross-chain transfer between different addresses in their future releases.
How cBridge Works
cBridge consists of multiple relay nodes that are responsible for maintaining the liquidity in the bridge. These nodes contain ample liquidity on the supporting chains that help in smooth liquidity transfer across different chains.
For example, when a user initiates a token transfer from chain A to chain B, the assets will be first sent to the relay node on chain A. Then, the relay node transfers an equivalent amount of tokens to chain B since it also maintains the liquidity on the destination chain B. Afterwards, the bridge uses Hashed Time Lock contract that protects the bridge transaction. It guarantees users fund security even in case of malicious behavior by the relay node.
Currently, the network gateway server automatically selects the relay node. And it depends upon the past relay success rate, the transaction fee charged, and the number of relayed transfers done by the relay node. In the future, the platform plans to bring a manual selection of relay nodes where users can check the list of online relay nodes and select among them.
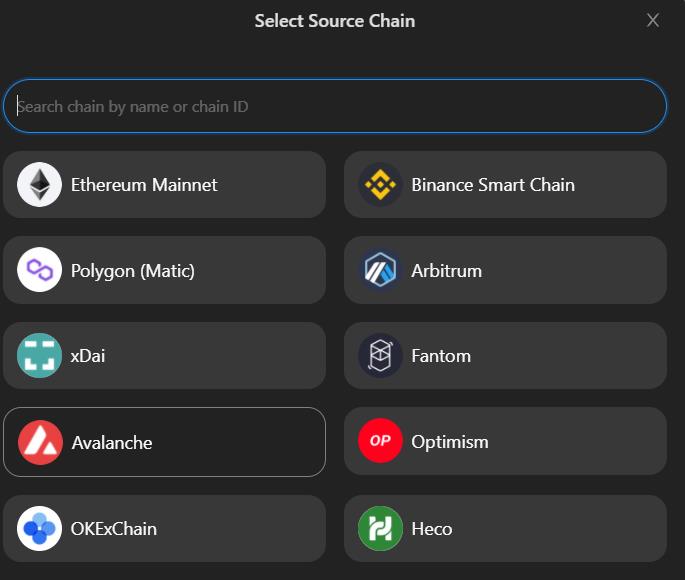
cBridge Supported Network
The cBridge currently allows users to connect and transfer tokens to the below networks: Ethereum, Binance Smart Chain, Polygon (Matic), xDAI, among others. You can see the complete list here:
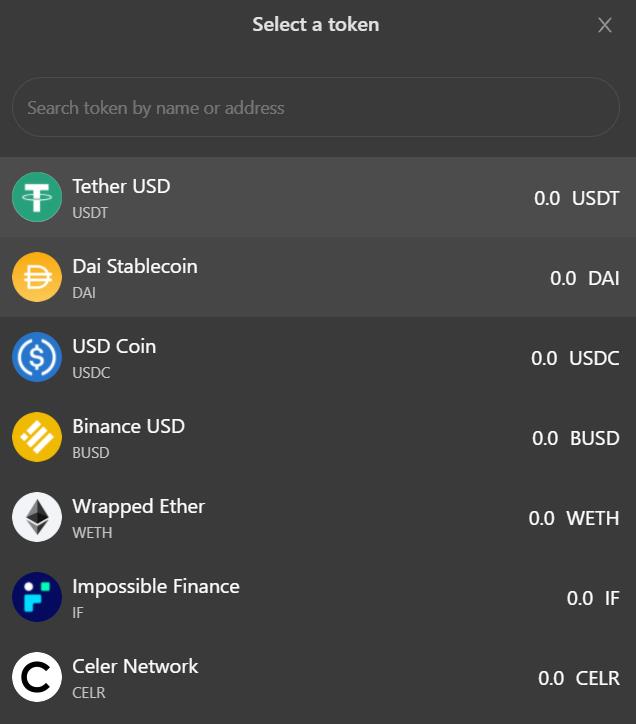
cBridge Supported Token
The bridge currently allows you to transfer the below tokens:
Transfer From Ethereum To Avalanche
To access the cBridge, users are required to connect with your Metamask wallet. Nowadays, the cBridge is in the beta phase. So, be careful while connecting your wallet and using it.
Step 1: Connect the Wallet
As you can see from the below screenshot, the wallet is connected, and the network is selected as Ethereum.
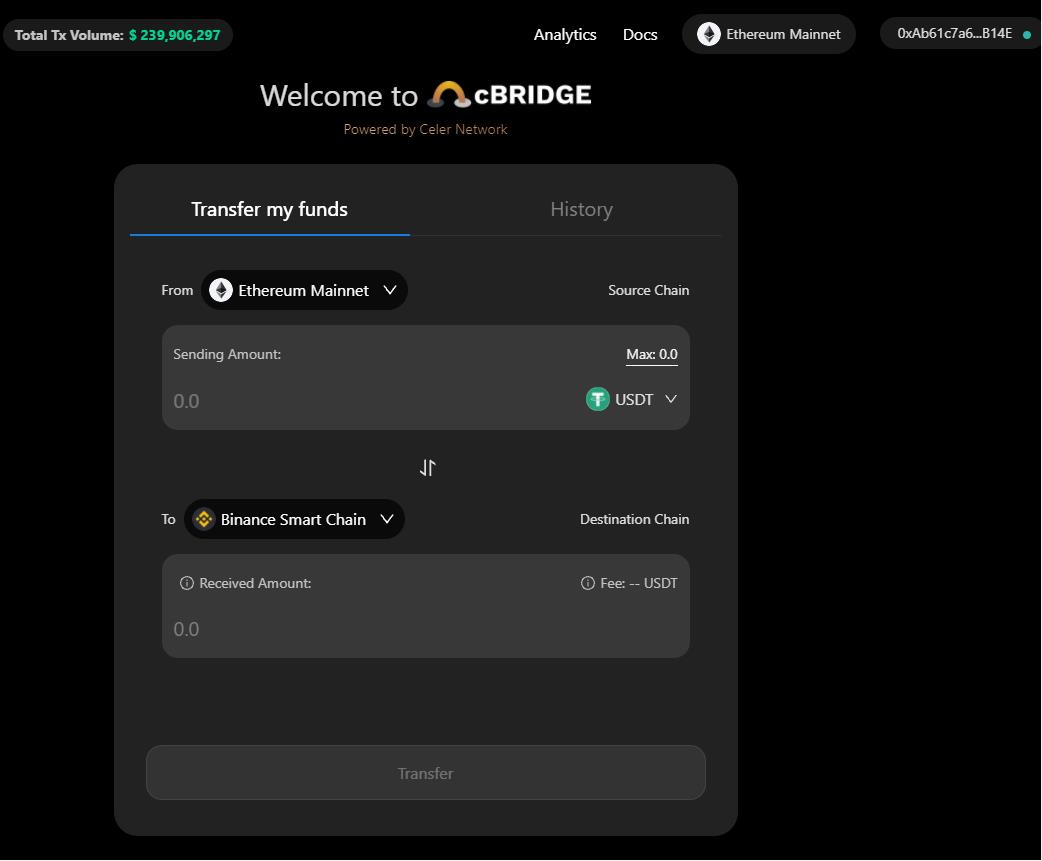
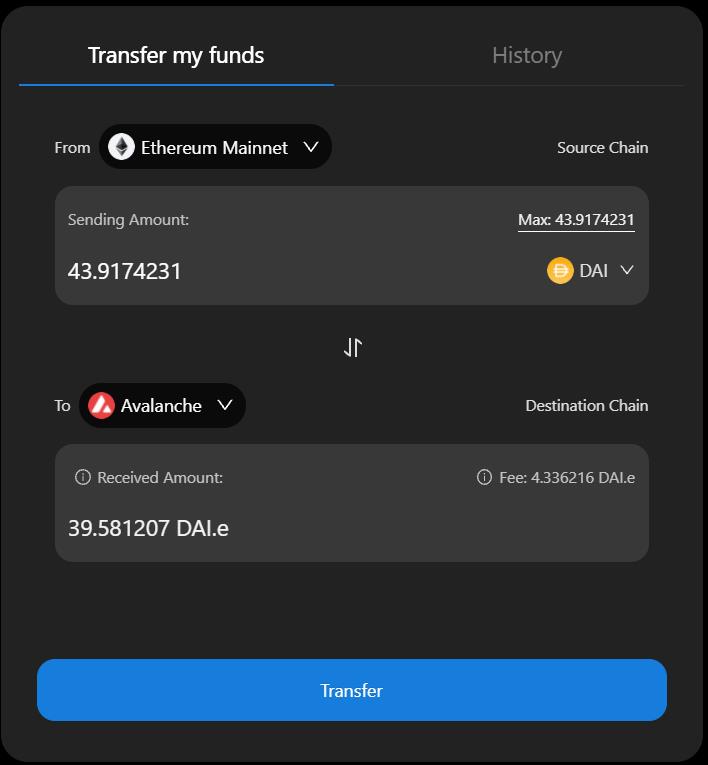
To use the bridge, we have some DAI tokens in our Ethereum network (Metamask wallet) that we wish to transfer to the Avalanche network. You can use any of the above tokens to transfer between any of the supported networks.
First, you need to select the source and the destination network. Now select the token and fill in the amount that you wish to transfer. The application will show you the number of tokens you will receive in the destination network after deducting the network fee. This fee is given to the relay node for processing the transaction.
Step 2: Transfer Funds
Enter the details and click on the Transfer button.
The application will ask you to approve the token before initiating the cross-chain transaction. Once you approve, a Metamask transaction will be triggered that you need to confirm.
Note that the approval activity of a particular token to a specific network is a one-time activity. You do not need to approve for the same token again in the same network.
Next, you will be asked to submit the transfer request. This will again trigger a Metamask transaction that you need to confirm.
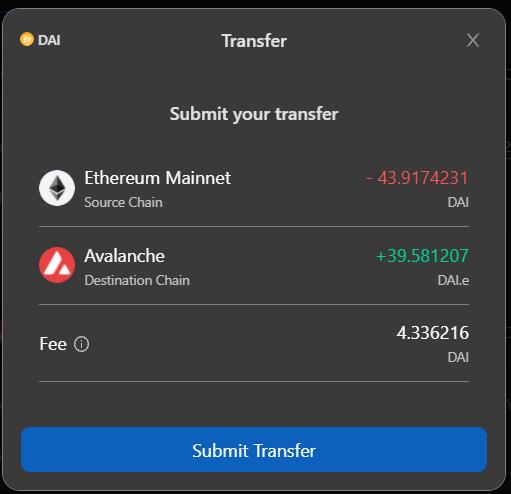
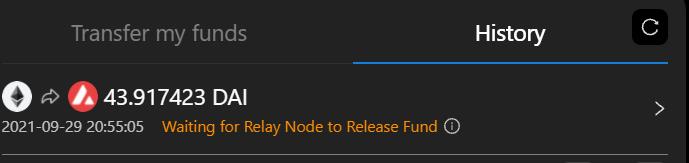
You will now see a window stating a message that your transaction is submitted and waiting for the relay node to respond with max wait time. Once the relay node responds to relay the transfer of tokens to your wallet in the Avalanche network, you also need to release the funds from your side.
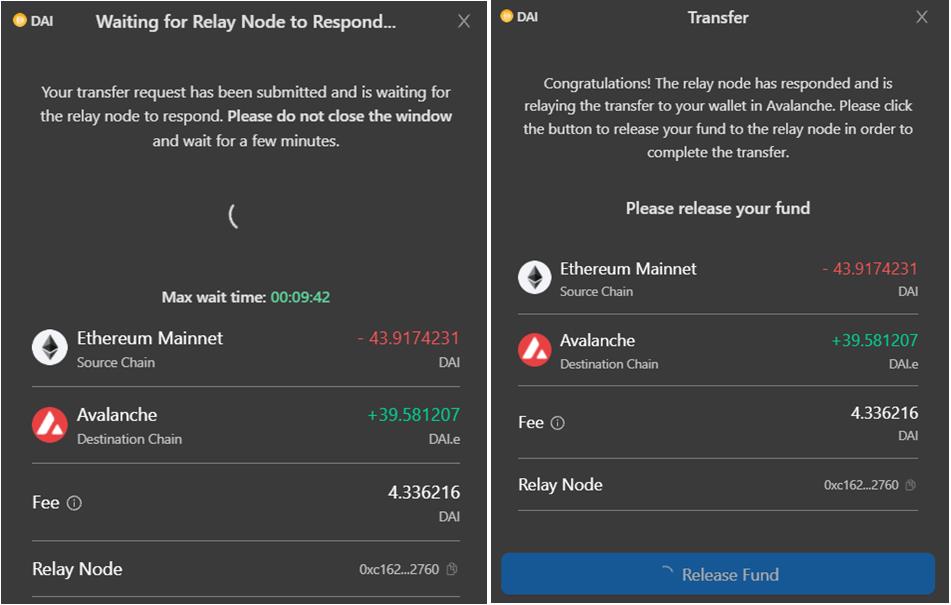
Hit the Release fund button. It will trigger a Metamask transaction, confirm it. Wait for few minutes for the relay node to process the transfer of the tokens.
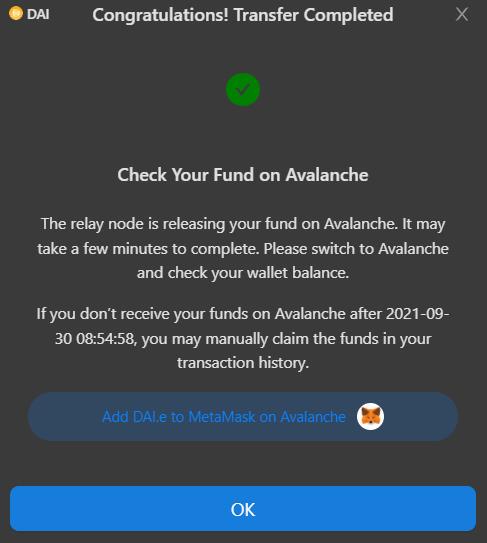
You will receive a message for a successful transaction by the relay node. You can now check your token balance in the destination network.
Step 3: Add DAI in the Avalanche Network
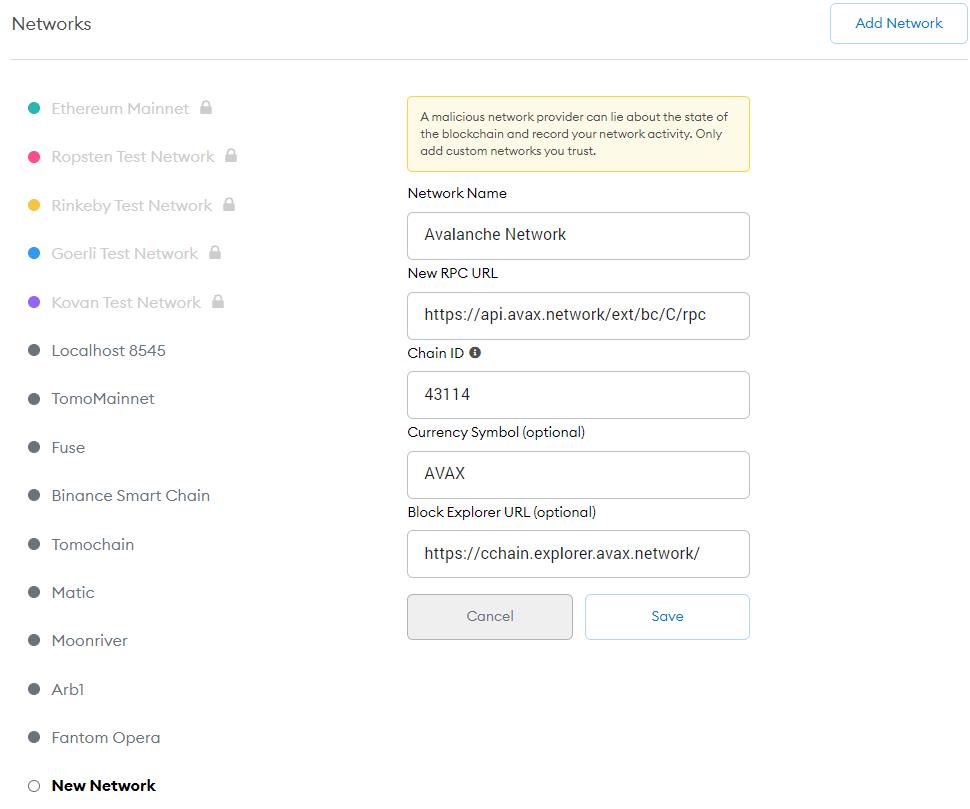
Users need to add the Avalanche network details manually in their Metamask wallet to see the token. To add, go to the Setting-> Network-> Add Network, and fill in the following information.
- Network Name: Avalanche Network
- New RPC URL: https://api.avax.network/ext/bc/C/rpc
- ChainID: 43114
- Symbol: AVAX
- Explorer: https://cchain.explorer.avax.network/
To see the token balance (DAI in Avalanche in this case), you can copy the token contract address from this link and add it to the custom token contract address.
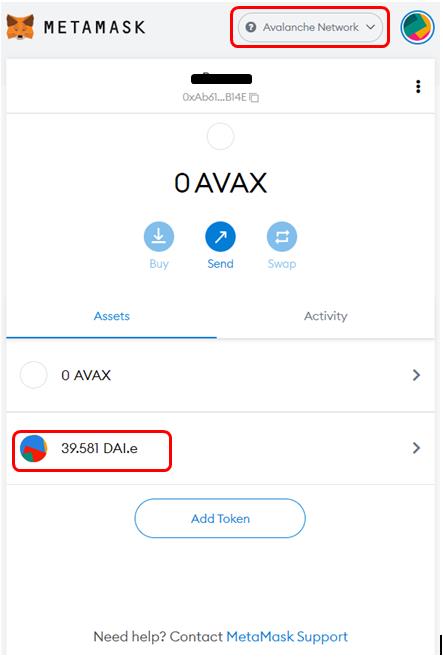
The desired token balance is now reflecting in the destination network.